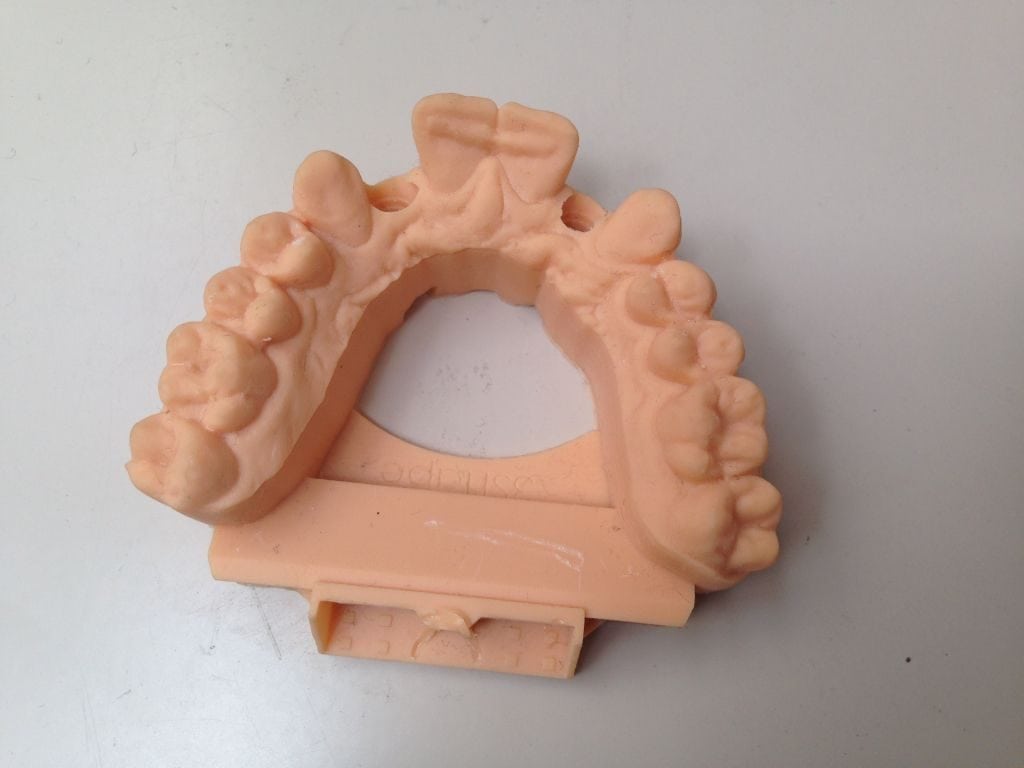
3D Printing for Indirect Bonding Trays that Place Brackets Perfectly
By Matt Moser, EnvisionTEC Technical Support
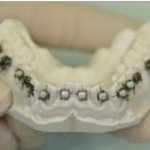
After installing his EnvisionTEC 3SP Ortho machine, the orthodontist told me that he intended to use the machine for indirect bonding. That’s a process where braces are placed on a dental model of a patient’s mouth and then a clear suck-down is created on the model that surrounds the braces, for eventual transfer to a patient’s mouth.
Indirect bonding trays ensure that braces are placed on the right place on the tooth with minimal error. Compared to individual placement of each bracket, indirect bonding trays save a substantial amount of office time.
Orthodontists were having a problem with printed models for indirect bonding trays because the braces would remain stuck to the models upon removing the suck down. This caused more issues because the brace would not come out and it would remove a piece of the model with it which turned the model and the retainer unusable. This problem was seen on multiple printers, including the Objet.
The 3SP Ortho provided us an advantage over the Objet machine because of the smooth surface achieved, at a 50 microns. This provided us with a smooth surface that aided in the detach. Moreover we had to come up with a process, after testing we were able to apply the indirect bonding procedure on our models, the Orthodontist considered this a breakthrough in orthodentistry because we were the first or from the very few able to achieve indirect bonding on a printed models with this ease. Please find below the process and material used.
The 3SP Ortho provided us an advantage over the Objet machine because of the smooth surface we achieved with the D7 material printing at a 50 microns. This provided us with a smooth surface that aided in the detach. Moreover we had to come up with a process, after testing we were able to apply the indirect bonding procedure on our models, the Orthodontist considered this a breakthrough in orthodentistry because EnvisionTEC was the first or from the very few able to achieve in direct bonding on a printed models with this ease.
Please find below the process and material used.
Dillehay Orthodontics in Wichita needed a better way of placing braces brackets on their patients. After incorporating an ULTRA® 3SP® Ortho into their laboratory, the orthodontist informed the technician setting up the machine that the lab intended to use the machine for indirect bonding.
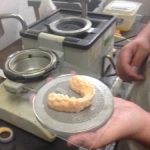
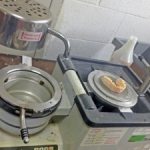
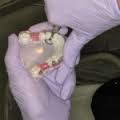
Indirect bonding is a process where the lab technician places braces on a model, traditionally made of plaster. Using a thermoforming unit to create a plastic retainer containing the braces with a model during which the plastic thermoforming material surrounds the braces. The lab technician will cut the plastic and separate the retainer off the model. This clear retainer will take the brackets with it upon detach. The lab then adds glue to the braces and the patient will insert the retainer in the mouth. This ensures that the braces will be placed on the teeth with minimal error.
Dillehay wanted to use 3D printed models to complete this process, citing the increased accuracy and ease of scanning with all the benefits of durable dental builds with less wasted material. The lab could not successfully bond brackets indirectly using competitors’ 3D printed orthodontic models. The braces would remain stuck to the models upon removing the thermoplastic material. Attempting to separate the model from the material resulted in breaking the model, rendering it and the retainer unusable. The lab experienced this problem while using several different 3D printing technologies.
However, the lab found success using their orthodontic 3D printing system from EnvisionTEC. The lab used ABS 3SP White in their indirect bonding process using 3D printed models, and credits the smooth surface achieved by their ULTRA 3SP Ortho machine which aided in the detach. From Dillehay:
“The 3SP Ortho provided us with an advantage over the Objet machine … We had to come up with a process. After testing, we were able to apply the indirect bonding procedure on our models. The orthodontist considered this a breakthrough in orthodentistry because we were the first or among the very few able to achieve indirect bonding on [3D printed] models with this ease.”
See the full White Paper on Indirect Bonding with EnvisionTEC 3D printed models.
Convenient Large Builds
With the use of a 3D printer, a dentist can take a scan of the patient’s mouth using an intraoral 3rd party scanner. This scanner would create a file, which is sent directly to the lab through the internet. The dental lab prints the model on an EnvisionTEC printer, and then makes the appliance.
The 3Dent uses 3SP (Scan, Spin and Selectively Photocure) technology to quickly print accurate models for dental applications. Both the 3Dent and the ULTRA use this technology This machine has a build speed of up to 10 mm/hr with E-Denstone material.
Appliances created by EnvisionTEC machinery are of excellent quality, as Jon’s clients will see once they receive the shipment of models pictured below. These models have excellent surface quality without any stair-stepping. The E-Denstone resin is made for high-temperatures, so it will not distort or crack during the heat of vacuum formation. This means that any appliances created will fit well in the patient’s mouth. Additionally, these models are also durable over time and don’t absorb water significantly.
Using a third party software, a dental technician working in a lab can use a scan of the patient’s teeth to design an appliance based on future tooth movements. Once this work has been completed, the clear aligner can be printed.
This kind of solution not only cuts costs and saves time, but all appliances created using this process are fully-functional for use on patients with crowding or spacing, those in need of braces, relapsed tooth movements and long term maintenance. Well, if that doesn’t put a smile on your face!

3Dent printing

Print job visible on the 3Dent™ touch screen

3SP technology at work

Jon’s molds

Teeth models just printed!

Material Savings
Despite being printed out of different materials and on two separate 3D printers (Left, Stratasys; Right, EnvisionTEC), at first glance these two sets of teeth models appear to be alike. They both have been grown in a similar fashion with a layer of support beneath the gum line and forming a bridge between the back molars. The models also appear to be accurate representations of their respective scanned data.

However, viewing the models from the opposite side reveals a key difference: the model grown on an EnvisionTEC 3D printer on the right is hollow while the other (the competitor’s model) is not.

EnvisionTEC 3D printers with 3SP® offer the capability of producing hollow models — without supports. Supports in hollow cavities adds time to the finishing process wherein the technician has to carefully remove cured material from small inner spaces. This kind of supporting also wastes material, which defeats the object of printing dental models with hollow portions in the first place. Saving material is a benefit that’s reduced when the model needs supports built in.
Not only that, but weighing both models revealed that the hollow version weighs 16 grams, while the filled-in competing version weighs 30 grams.


Using dental 3D printing with 3SP® technology from EnvisionTEC, it’s possible to 3D print your models with hollow bottoms. This design tip saves not only material but also time that would be spent post-processing extra support material — without sacrificing the accuracy and functionality our technology is known for.
Dental solutions available from EnvisionTEC offer speed, accuracy and functionality to benefit wait times, material usage and precision of appliances. Working with digitally to create aligners that fit perfectly, in minutes! Converting from traditional manufacturing to a digital 3D process with our user-friendly, desktop-compatible 3D printer will improve your existing workflow. Making models from digital data, starts with taking a 3D scan or an impression of your patient using a third party intraoral 3D scanner device. Next, using orthodontic treatment software you can directly design the treatment using orthodontic treatment software that predicts future teeth movements. Finally, print your model using the EnvisionTEC Micro Ortho 3D printer. The Micro printer can build up to seven models in four hours. It’s parts are very accurate with details down to 50-100 micron voxels. The last step of this process is baking it in a thermoforming unit.
The ULTRA® 3SP® and the 3Dent® are 3D printers from EnvisionTEC that provide a smart solution for laboratories. Both printers produce high-quality printed parts without star stepping that are very stable over time and don’t absorb water. The traditional method can take several weeks — but with this digital method, the orthodontist can take an intraoral scan, send it directly to the lab wirelessly, which will then print the model and make the appliance. Three to six days after the scan was taken from the patient’s mouth, the appliance can be ready to be shipped back to the orthodontist. As a proven leader in high speed manufacturing of dental models from a variety of intraoral scanners, we believe that the 3Dent® delivers the most accurate 3D printed parts in the world.
With speed, accuracy and quality, EnvisionTEC serves several niche industries. Add a high capacity for customization and 3D printing from EnvisionTEC becomes the choice of many in the jewelry, hearing aid, and dental professions. Manufacturing in the dental industry benefits from 3D printing as many practices and labs begin to see the benefits of rapid turnaround times for patients.
The availability of proper software is key to 3D printing in the dental industry. The high proliferation of CAD/CAM software means that there are many programs to choose from, and that the market is competitive. EnvisionTEC is partnered with 3Shape and Dental Wings to ensure complete integration between their programs and our 3D printing solutions. With intraoral and other scanning devices, collecting oral data is easier and more precise than ever.


